Peel-and-Stick Tile: Is It Actually Worth It? Pros, Cons & Where to Use It
Is peel-and-stick tile worth it? It can be an effective low-commitment way to refresh a kitchen backsplash or decorative wall, but the same product may perform poorly on an uneven floor, a textured surface or in a continuously wet area.
Smooth, lower-risk decorative walls.
Poor preparation and lifting edges.
Heat, moisture and removal rules.
Where Peel-and-Stick Tile Works and Where It Fails
The best peel-and-stick tile installations are usually decorative, lower-risk locations with smooth stable substrates, manageable heat and moisture, and clear expectations about service life. The worst applications often ask the material to do the work of a waterproofing or high-traffic flooring system.
| Location | Recommendation | Why |
|---|---|---|
| Kitchen backsplash away from high heat | Often a good option | Visible improvement with relatively low wear |
| Pantry, laundry or powder-room accent wall | Often reasonable | Decorative use with manageable exposure |
| Low-traffic utility floor | Possible with product approval | Very flat, dry substrate and tight seams needed |
| Busy entry or large main floor | Use caution | Traffic, grit, moisture and long seam runs |
| Behind stove / range | Product-specific approval required | Adhesive and finishes have temperature limits |
| Inside a shower or direct-wet area | Avoid ordinary peel-and-stick products | Not a substitute for a complete approved waterproofed assembly |
Peel-and-Stick Wall Tile vs. Floor Tile
Thin vinyl wall sheets
Lightweight printed patterns with easier trimming. More likely to show rough substrates, uneven seams and repetitive printed textures.
Dimensional wall panels
Thicker gel or raised surfaces can create a stronger tile illusion, but edges, alignment and heat limits still matter.
Individual specialty wall tiles
Metal, glass, stone or specialty materials can have different handling and adhesive requirements. They are not interchangeable with printed vinyl.
Adhesive floor tiles
Made for walking loads but especially demanding of subfloor flatness, stable adhesion, clean joints and the maker’s approved use.
A backsplash installed over a smooth wall and a floor installed over a moving or uneven substrate may share the same marketing phrase but are entirely different projects.
How to Prepare for Peel-and-Stick Tile
If the substrate is dirty, damp, loose, glossy, badly textured or uneven, adhesive contact can be unreliable. Prep can take longer than sticking the actual tile. That is normal for a durable result.
Inspect the surface
Identify peeling paint, active leaks, loose old tile, cracked grout, soft drywall, uneven floor patches or excessive texture.
Correct underlying defects
Repair damp or damaged material and allow approved fillers/primers to dry fully; do not trap ongoing moisture behind a finish.
Degrease and clean
Kitchen walls collect oil even when they look clean. Follow the tile maker’s cleaning and drying rules.
Test adhesion and appearance
Try a sample in a concealed area. Confirm compatibility, look at the texture in real light and test removal if reversibility matters.
Plan the layout
Dry-fit the first course and last cut, mark a level reference, consider outlet covers and choose edge termination before peeling backing.
Apply and press as specified
Work in manageable sections and use the maker’s recommended pressure, roller or tool; avoid stretching thin material.
Peel-and-Stick Floor Tile Needs More Planning
Floor tiles must withstand repeated traffic, chair movement, pets and wet cleaning. Adhesive-backed flooring is less forgiving when a substrate has hollows, loose layers, contamination or moisture. Small installation errors also repeat across large areas.

On concrete, check moisture guidance; on plywood or old flooring, check stiffness and surface suitability. A finish cannot repair a failing subfloor. See Subfloors & Preparation for the fundamentals.
Peel-and-Stick Kitchen Backsplash: The Sweet Spot
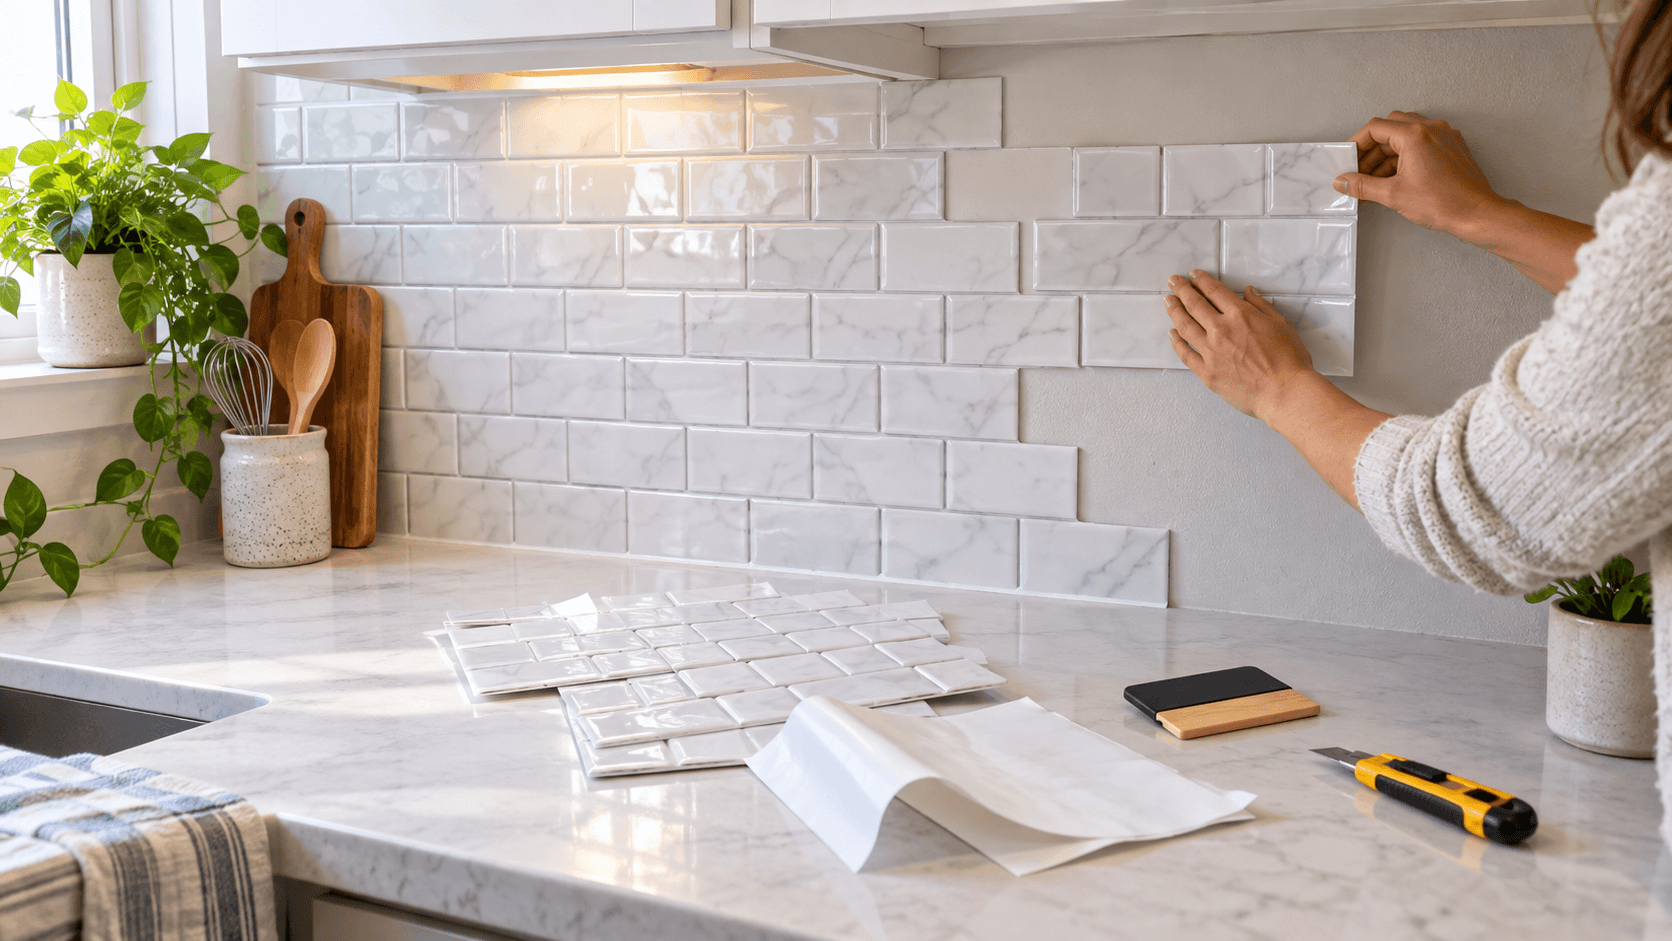
A kitchen backsplash is often a sensible match because it is relatively small, visible and easier to update than a full floor. A well-prepared wall and deliberate outlet cuts can help a mid-range adhesive finish look more polished.

Spend time on edges
Plan outlet holes, inside corners, outside trim and the point where the pattern ends under cabinets.
Respect heat and water
Follow appliance clearances and product temperature limits; wipe water from edges and joints rather than leaving persistent moisture.
For more permanent backsplash choices, see Kitchen Backsplash Ideas, including ceramic, porcelain, natural stone and slab options.
Peel-and-Stick Tile Pros and Cons
| Advantages | Limitations |
|---|---|
| Often faster and cleaner than mortar-set tile | Dependent on substrate and adhesive compatibility |
| Small areas can be DIY-friendly | Edges can lift when preparation or heat limits are ignored |
| Useful for decorative or temporary updates | Removal may damage drywall paint or leave residue |
| Many styles with modest initial commitment | Thin products can telegraph uneven wall or grout patterns |
| Minimal specialty tools for some products | Not an all-purpose replacement for a wet-rated assembly |
Cost is not just the package price. Add cleaning, repairs, trims, extra tiles, wasted pieces and future removal. A low-cost weekend finish can still be good value when a longer-lived remodeling system is not justified.
Durability, Removal and Common Mistakes
There is no single trustworthy lifespan for all peel-and-stick tile. A suitable wall product over a clean dry substrate may serve for years; a cheap floor tile over a poor surface can fail much sooner. Sunlight, cleaning, movement, heat and moisture all influence performance.
Crooked layout
Measure and dry-fit before applying adhesive; avoid narrow slivers at the final edge.
Weak adhesion
Clean thoroughly, eliminate loose paint or grime and follow manufacturer priming and temperature requirements.
Visible pattern repetition
Inspect multiple sheets laid together before buying all the material.
Damage on removal
Expect possible residue, paint loss or substrate repairs; plan for that cost upfront.
If a tile releases unexpectedly, do not assume adding generic adhesive is an approved fix. First identify the underlying problem and check the manufacturer’s repair guidance.
Peel-and-Stick Tile Project Checklist
Can peel-and-stick tile go over old tile?
Sometimes, if the old tile is sound, flat, clean and explicitly approved. Deep grout joints may show through or compromise adhesion.
Can it be used inside a shower?
Ordinary peel-and-stick wall tile should not replace a properly designed waterproof shower assembly. Only consider a product and system specifically approved for direct-wet exposure.
Is peel-and-stick tile renter-friendly?
It may be easier to change than traditional tile, but adhesives can damage the existing paint or drywall. Test removal and get approval first.
Why do corners lift?
Potential causes include dust, cooking grease, texture, dampness, poor pressing, excessive temperature, or use on an unapproved substrate.
Does it need grout?
Many wall-panel products do not, while some floor or specialty products have their own joint rules. Follow the product instructions rather than assuming all products work alike.
Choose for the actual project
Good results come from matching the product and installation to the real surface, use, moisture exposure and maintenance expectations. Read the specific product instructions before you buy, then plan the details that are easy to overlook.