How to Paint a Room: A Step-by-Step Guide for Beginners
Learning how to paint a room is one of the most approachable home improvement projects for a beginner. It does not require specialized equipment, and most mistakes are usually fixable.
What separates a clean paint job from a frustrating one, though, is preparation. Most beginners focus on the actual painting, but much of the work happens before the roller ever touches the wall.
Most beginners focus on the actual painting. In reality, much of the work happens before the roller ever touches the wall. Furniture has to be moved, surfaces need to be cleaned, holes and cracks should be repaired, edges need to be protected, and the condition of the existing paint has to be evaluated.
Taking a little more time at the beginning usually makes the painting itself faster and produces a much better result.
Start by Looking at the Room, Not the Paint Color
Before buying paint, walk around the room and look closely at the walls.
Small nail holes, dents, peeling paint, cracked caulk, water stains and uneven patches become much more noticeable once fresh paint goes on. New paint does not hide poor surface preparation. In some cases, it actually highlights it.
Also look at the baseboards, door casings and ceiling edges. Decide whether you are painting only the walls or whether the trim and ceiling need attention too. If painting is only one item on a longer renovation list, it helps to decide which home improvements should come first before spending time on cosmetic finishes.
If the room has major discoloration, recurring stains or areas where paint is bubbling or peeling, it is worth figuring out why before covering it.
Painting over an active moisture problem only hides the symptoms temporarily.
Gather What You Need Before You Start
You do not need an enormous collection of tools for a basic room, but having everything nearby makes the project much easier.
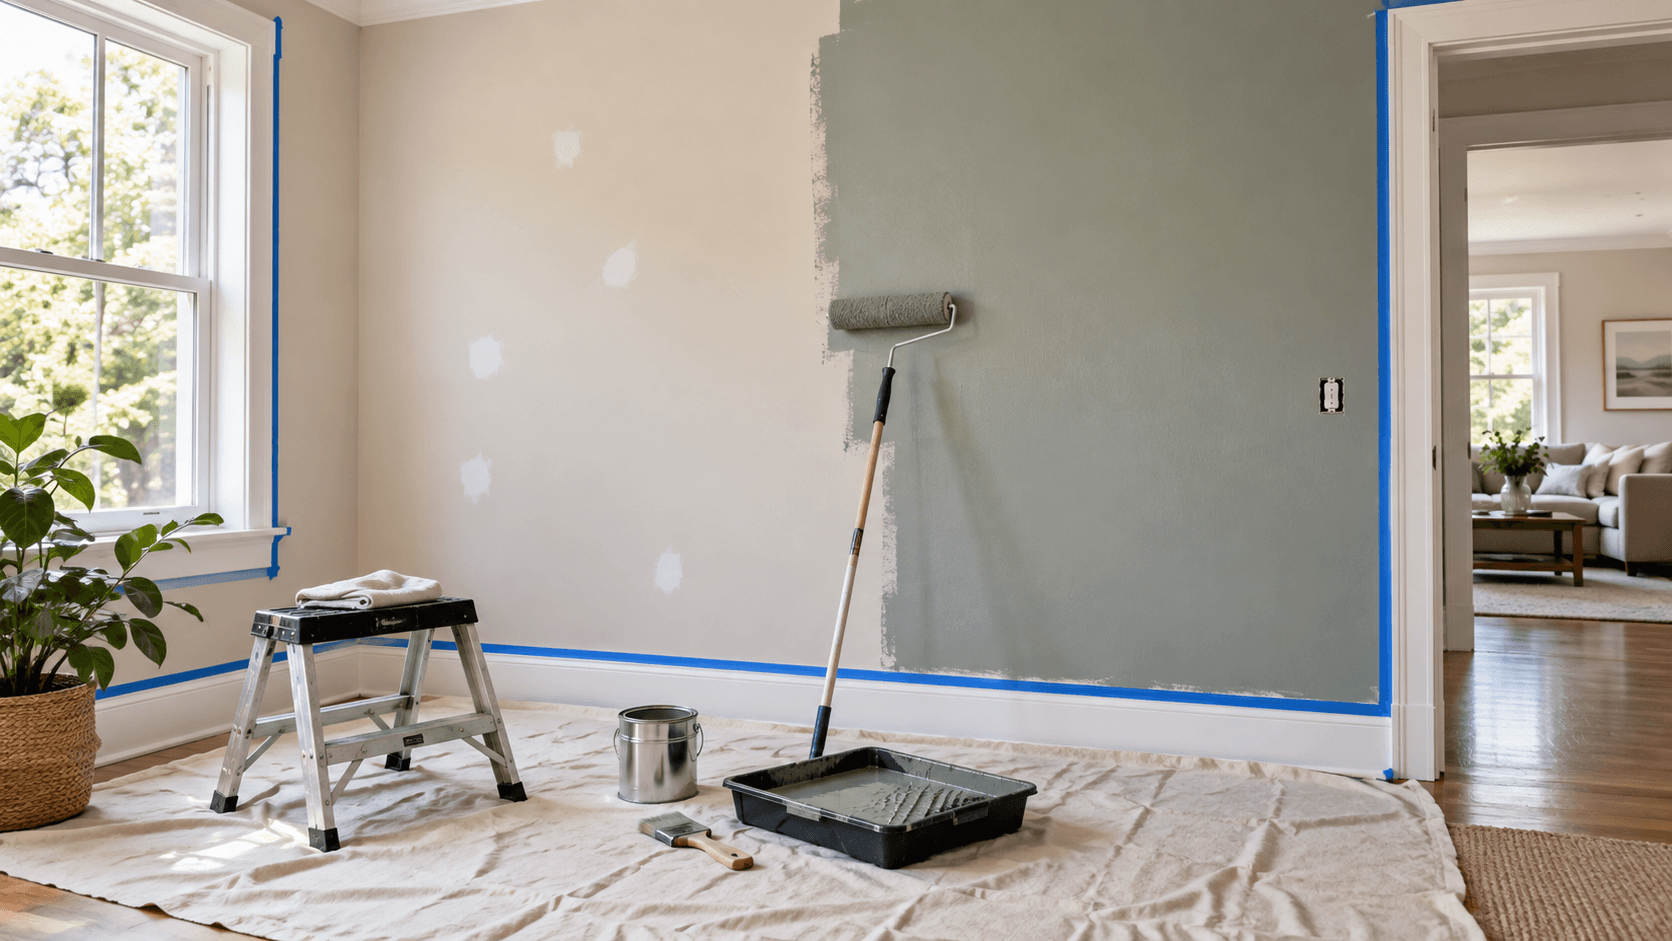
A typical setup includes paint, a roller and roller covers, an extension pole, a paint tray or bucket, an angled brush, painter’s tape, drop cloths, patching compound, a putty knife, sandpaper or a sanding sponge, cleaning supplies and a ladder or step stool.
The exact roller nap and brush type depend on the paint and surface you are working with. Smooth interior drywall generally uses a shorter roller nap than heavily textured walls.
When in doubt, check the paint manufacturer’s recommendations.
Figure Out How Much Paint You Actually Need
The easiest way to estimate paint is to calculate the approximate wall area and compare it with the coverage listed on the paint can. For a quicker estimate, use the Builzee Paint Calculator to calculate wall and ceiling area, subtract openings, account for multiple coats and estimate how many gallons you need.
Measure the perimeter of the room and multiply it by the wall height. You can subtract large doors and windows, although for a typical room it is often easier to keep a little extra paint rather than calculate everything down to the last square foot.
Remember that many walls require two coats.
Color changes matter too. Painting a light color over another light color may cover fairly easily. Going from a very dark wall to a light color can require primer and multiple finish coats.
Buying all of the paint for one room at the same time can also help reduce small color variations between batches.
Clear the Room as Much as Possible
Painting around furniture takes longer than moving it.
Remove smaller items from the room and move larger furniture toward the center. Cover anything that remains with plastic or a drop cloth.
Floors should be protected before patching, sanding or painting begins.
Canvas drop cloths work well because they stay in place and absorb small spills. Plastic sheeting can also work, but it tends to move more easily and can become slippery.
Remove outlet and switch cover plates rather than trying to paint around them. Put the screws and covers together somewhere they will not get lost.
This takes only a few minutes and usually produces a much cleaner finish.
Repair the Walls Before Painting
Fresh paint looks best on a flat, stable surface.
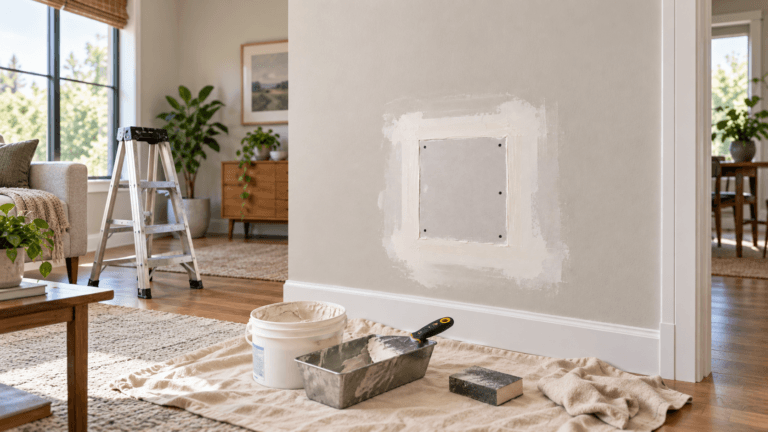
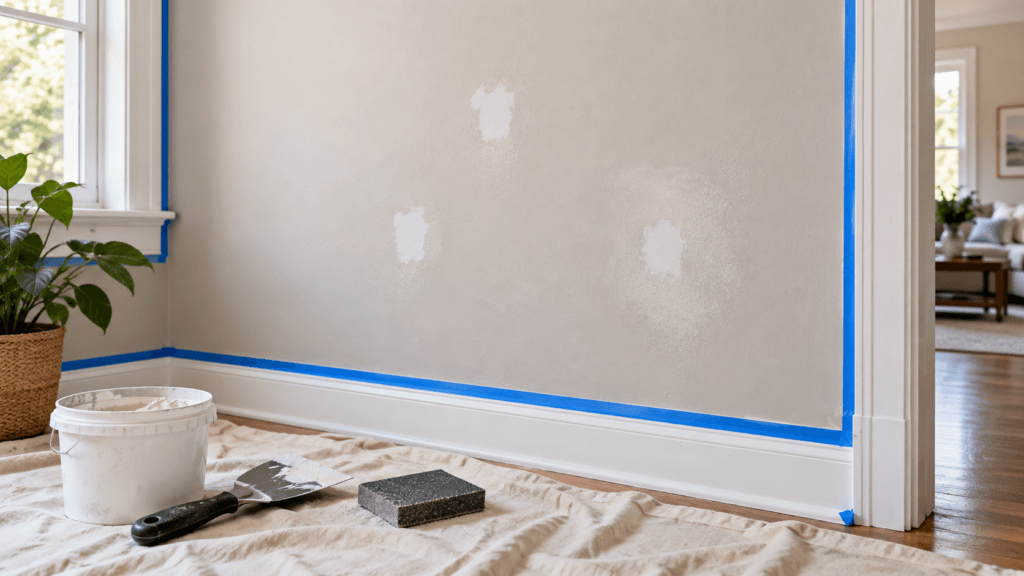
Fill nail holes and small dents with an appropriate patching compound. Larger damaged areas may require drywall compound or a more involved repair.
Allow repairs to dry completely before sanding them smooth.
Run your hand across the repaired area after sanding. If you can feel an obvious ridge or depression, you may still be able to see it after painting.
Old paint edges should also be addressed. If paint is peeling, do not simply paint over the loose material. Remove anything that is no longer firmly bonded, feather the edges, and determine whether moisture or another underlying problem caused the failure.
For cracks around trim or joints, a paintable caulk may be more appropriate than wall patching compound.
Clean the Walls
Walls collect more dirt than they appear to.
Dust, grease, fingerprints and residue can interfere with paint adhesion, especially in kitchens, bathrooms and areas around light switches or doors.
Wipe down dusty walls and clean visibly dirty areas before painting. Greasy surfaces may need a stronger cleaner or degreaser, followed by sufficient drying time.
You do not necessarily need to aggressively wash every wall in a clean bedroom, but paint should not be applied over dirt, oil or loose material.
Allow the surface to dry before moving on.
Decide Whether You Need Primer
Primer is not automatically required every time a room is painted.
If the existing paint is in good condition and the new color is similar, many modern interior paints can be applied directly over the existing finish.
Primer becomes much more useful when the surface has been repaired extensively, when drywall is new or exposed, when you are covering a dark or intense color, or when stains are present.
It can also help when painting over surfaces with very different levels of porosity.
A repaired drywall patch, for example, may absorb paint differently from the surrounding painted wall. Spot priming the repair can help prevent the patched area from showing through the final finish.
Stains caused by water, smoke or other contaminants may require a stain-blocking primer rather than ordinary wall primer.
Protect the Edges
Painter’s tape can be helpful around trim, door frames and other areas where you want a clean line.
Apply tape to a clean, dry surface and press the edge firmly so paint is less likely to work underneath it.
Tape is not a replacement for careful brushing. Loading a brush heavily and pushing paint against the tape can still create a rough edge or allow paint to seep through.
Many experienced painters use little or no tape because they are comfortable cutting in with a brush. For beginners, tape can provide some extra control while learning.
Cut In Before Rolling
“Cutting in” means painting the areas a roller cannot reach easily.
Use an angled brush to paint along ceiling lines, corners, trim, doors, windows and other edges.
Work carefully, but do not try to create an extremely wide painted border. A few inches is generally enough for the roller to overlap later.
It helps to work on one wall or section at a time rather than cutting in the entire room hours before rolling.
Keeping the brushed and rolled areas relatively close together can help the finish blend more evenly.
Roll the Walls in Manageable Sections
Load the roller evenly without completely saturating it.
A roller that is too dry requires excessive pressure and creates uneven coverage. A roller that is overloaded can drip, splatter and leave heavy areas of paint.
Start several inches away from the corner or edge and spread the paint across a manageable section of wall.
Then lightly roll back through the area to even out the finish.
The goal is to maintain a wet edge so each new section blends into the previous one before the paint begins to dry.
Avoid repeatedly rolling over paint that has already started setting. That can disturb the surface and leave visible texture or roller marks.
An extension pole is useful even on standard-height walls because it allows you to roll with smoother, longer movements rather than constantly reaching or moving a ladder.
Do Not Expect One Heavy Coat to Replace Two Normal Coats
Trying to finish a room with one excessively thick coat usually creates more problems than it solves.
Heavy paint can sag, dry unevenly and leave visible roller texture.
Two normal coats generally produce more consistent color and coverage than one overloaded coat, particularly when the wall color is changing.
Some paints advertise one-coat coverage under specific conditions, but the actual result depends on the existing color, surface condition, application method and paint color.
Evaluate the wall after the first coat has dried rather than while it is still wet.
Wet paint can look uneven even when it will dry normally.
Give the Paint Enough Time Between Coats
Follow the recoat time provided by the paint manufacturer.
Paint may feel dry to the touch before it is ready for another coat.
Temperature, humidity and ventilation all affect drying.
Rushing a second coat can soften or disturb the first coat, especially around edges where more paint may have accumulated.
Opening doors and providing normal airflow can help, but avoid creating strong drafts that cause the paint to dry too quickly while you are working.
Remove Painter’s Tape Carefully
Do not simply leave painter’s tape in place for days after the project is finished.
Depending on the tape and paint system, removing it while the paint is still relatively fresh can produce a cleaner edge.
Pull the tape back slowly at an angle rather than straight away from the surface.
If paint has dried heavily across the tape edge, lightly scoring the line with a sharp utility knife can help prevent the dried paint film from tearing away from the wall.
Use caution around finished trim and other surfaces.
Watch for the Mistakes That Make a DIY Paint Job Look Rough
One of the most common mistakes is skipping preparation because the walls “look fine.”
Small defects become much easier to see after fresh paint is applied.
Another is overworking the paint. Once the paint begins drying, repeatedly brushing or rolling through it can create more texture rather than improving the finish.
Poor lighting can also be a problem.
A wall may look perfect while you are working and show missed areas the next morning when natural light hits it from another direction.
Inspect the room from several angles after the first coat dries.
Finally, do not assume that every mark on a wall should simply be covered.
A stain that keeps returning may indicate something happening behind the surface.
When Painting Is More Than a Cosmetic Project
Painting is normally straightforward, but certain conditions deserve a closer look.
Repeated water stains, bubbling paint, soft drywall, swollen baseboards and persistent peeling can indicate moisture intrusion.
If a wall remains damp or continues deteriorating, identify the source before repainting.
Possible causes can include plumbing leaks, roof leaks, window or exterior wall water intrusion, condensation or excessive humidity.
Covering the damage with primer and paint may make the room look better temporarily, but it does not correct the underlying condition.
The same idea applies to significant cracking.
Small cosmetic cracks are common in homes, but cracks that continue growing, repeatedly reopen or are accompanied by movement in surrounding finishes may deserve further evaluation.
Knowing when not to paint yet is part of doing the project properly. If painting is part of a larger project, it can also help to work through a basic home renovation planning checklist before starting finishes.
Should You Paint the Room Yourself?
For many homeowners learning how to paint a room, interior wall painting is an excellent first DIY project. If you are unsure where DIY stops making sense, our guide to DIY vs. hiring a contractor explains how to think about skill level, risk, tools and project complexity.
The materials are readily available, the tools are relatively inexpensive, and the work can usually be completed without specialized training.
A simple bedroom with good walls is very different, however, from a large vaulted room with extensive drywall repairs, complicated trim and difficult access.
Hiring a professional painter may make more sense when the surface preparation is extensive, the room is difficult to access safely, the finish requirements are particularly demanding or the project involves a large portion of the house.
For a typical room, though, the biggest requirement is patience.
A careful first-time painter can often achieve a very good result by spending more time preparing the room and less time trying to rush through the actual painting.
A Better Paint Job Starts Before the Roller
Painting a room looks simple because the final step is simple.
The quality comes from everything that happens before it.
Repair the walls, clean the surfaces, use primer where it is actually needed, protect the surrounding finishes and give each coat enough time to dry.
Once the preparation is right, the painting itself becomes much easier.
And if something on the wall looks like more than an old paint problem, investigate it before covering it. Fresh paint should be the finish of the repair, not the thing hiding it.
Planning Your Next Home Project?
Explore Builzee’s guides for DIY projects, Windows, Doors, Bathrooms and other home improvement topics before you start.