
How to Install Vinyl Plank Flooring: A Step-by-Step Guide
Knowing how to install vinyl plank flooring starts with a flat, dry subfloor and a deliberate first row. LVP may click together quickly, but small planning mistakes show up at doorways, along walls and at the last row.
This guide focuses on floating click-lock luxury vinyl plank. Glue-down or loose-lay products use different procedures. Always let the exact flooring manufacturer’s instructions control acclimation, approved substrates, underlayment, stagger pattern, expansion spacing and room-length limits.
Tools and materials for floating vinyl plank
Before you begin, gather the flooring, approved underlayment if required, tape measure, square, pencil, straightedge, utility knife or flooring cutter, tapping block, rubber mallet, pull bar, spacers, vacuum and knee protection. An oscillating multi-tool is helpful for door jambs; a jigsaw may be useful around irregular penetrations.
Wear eye protection while making cuts and use the proper blade and ventilation where cutting produces dust. In older homes, do not disturb suspected asbestos-containing resilient flooring or adhesive without appropriate professional evaluation.
Prepare the room and the subfloor
Remove furniture and anything that interferes with installation. Remove baseboards for a cleaner finish, or plan approved shoe molding to conceal the floating-floor perimeter gap. Remove loose staples, adhesive ridges and debris left from prior flooring.
The surface must be sound
Check for loose plywood, damaged panels, elevated seams, low spots and moisture. Floating LVP does not repair a weak or uneven subfloor. The floor does not have to be perfectly level, but it must meet the product’s flatness tolerance.
Wood substrates may need tightening or patching; concrete may need moisture testing and suitable flattening products. Never install directly over an unapproved substrate.
Subfloor ready-to-go checks
- Clean of grit and debris
- Dry and tested where required
- Flat to specified tolerance
- Structurally stable
- Compatible with underlayment rules
- Within specified indoor temperature/humidity

For more details, see Builzee’s Subfloors & Preparation guide. If your product has attached pad, don’t add a separate soft underlayment unless approved by the manufacturer.
Plan plank direction, room width and starter rows
Planks are often run along the longest sightline, toward major windows or through connected rooms for continuity. There is no universally correct direction. Lay out sample rows and look at thresholds, long hallways and the most visible walls before committing.
| Planning item | What to decide before starting |
|---|---|
| Floor quantity | Measure every area separately; add waste for irregular cuts and the layout pattern. |
| First and last row | Calculate the final row width; adjust starting row to avoid a very narrow strip. |
| Stagger | Follow the manufacturer’s minimum end-joint offset; avoid repeated H-joints and ladder patterns. |
| Expansion | Use required perimeter clearance at walls, columns, cabinet bases, pipes and jambs. |
| Transitions | Confirm door clearances, adjacent floor heights and any required expansion breaks. |
Builzee’s Flooring Quantity Calculator handles multiple areas and waste allowance. Purchase enough flooring from the same production lot when possible.

Step-by-step vinyl plank flooring installation
01 · Measure material and unpack safely
Confirm room area and waste, inspect boxes for damage, and follow the product’s storage and acclimation requirements. Do not assume every LVP requires a fixed 48-hour acclimation period; instructions vary by product.
02 · Establish a straight reference line
Measure wall alignment rather than assuming drywall is straight. Mark a layout line, then make the starting row compatible with the product’s locking direction. A crooked first course becomes harder to correct across the room.
03 · Assemble the first row carefully
Install the plank ends in the manufacturer’s sequence. Use spacers at the wall and fixed objects. Do not strike vulnerable tongues or grooves directly with a hammer.
04 · Build additional staggered rows
Use starter lengths that maintain the required end-joint offset. Mix printed plank patterns and boxes so repeated graphics don’t form an obvious pattern. Engage each lock fully before moving forward.
05 · Cut around walls and obstructions
Score-and-snap works for many products, while intricate cuts may require a jigsaw or cutter. Measure twice, account for required gap and use eye protection. Undercut door jambs to the correct height where the product permits.
06 · Complete the last row
Measure at several points because walls wander. Rip the final planks to fit while maintaining the specified gap, using a pull bar where a tapping block won’t reach.
07 · Install transitions and trim
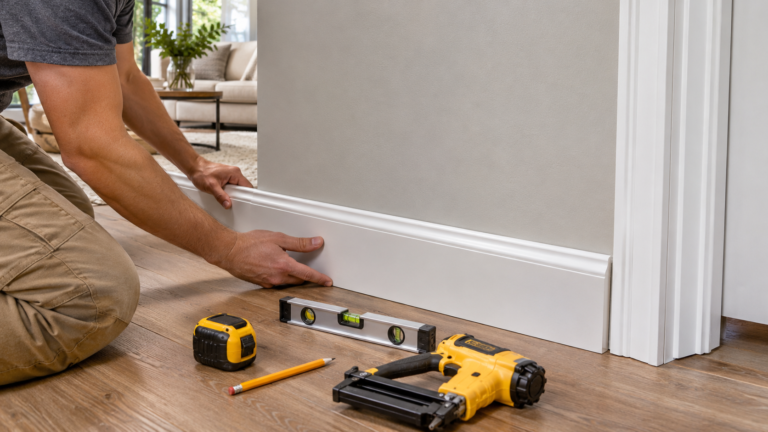
Replace baseboards or add shoe molding. Attach trim to the wall, not through the floating floor. Keep required movement clearances under transitions and at changes in flooring.
Doorways, islands and finished edges
Undercutting the casing often looks cleaner than notch-cutting around it; avoid locking the floating field in place.
Many floating systems prohibit permanent islands or heavy fixed cabinetry on top of the finished flooring. Review the instructions.
Extra underlayment can overcompress click-lock joints. Use only approved assemblies.
Very long runs, large rooms and door transitions may require expansion breaks or different profiles.
Common LVP installation mistakes
| Symptom | Likely installation issue | What to check |
|---|---|---|
| Open end joints | Improper lock engagement or insufficient stagger | Verify joint profile and plank damage before forcing the seam. |
| Clicking or flexing | Subfloor flatness/support problem | Check substrate and manufacturer tolerance. |
| Buckling at perimeter | Floor pinched against walls or fixed objects | Confirm expansion gap and trim installation. |
| Very narrow final row | Layout not planned in advance | Rebalance first and last row widths before setting the first course. |
| Peaking edges or damaged tongue | Excessive force or incompatible tapping | Use specified tapping block and installation angle. |
Water-resistant LVP is not a substitute for fixing moisture problems under a floor. Some products also require movement joints between large contiguous areas, so verify limitations before attempting uninterrupted runs.
LVP installation quality checklist
Questions before installing LVP
Can vinyl plank go over existing tile?
Sometimes, if the substrate is stable, dry, smooth and approved by the flooring manufacturer; grout lines may need preparation.
Do you need underlayment under LVP?
Only the underlayment approved by your flooring product. Attached-pad products often prohibit additional cushion.
How big should the expansion gap be?
Use the product instructions rather than a universal number. Gap requirements can change with room size and installation type.
Do I have to acclimate the planks?
Check your product. Some require conditioning, while others specify no special acclimation under certain jobsite conditions.
Prepare the floor, then build the pattern
Subfloor condition and first-row layout are what separate a quick-looking installation from a dependable one. Follow your product’s requirements, preserve movement space and never use LVP to hide a damaged substrate.