
SHOWERS & ENCLOSURES GUIDE
Choose the Right Shower and Enclosure for Your Bathroom
Shower enclosures can change how a bathroom looks, feels and functions. Compare shower configurations, glass options, door types, framing systems and space requirements before choosing the right setup for your project.
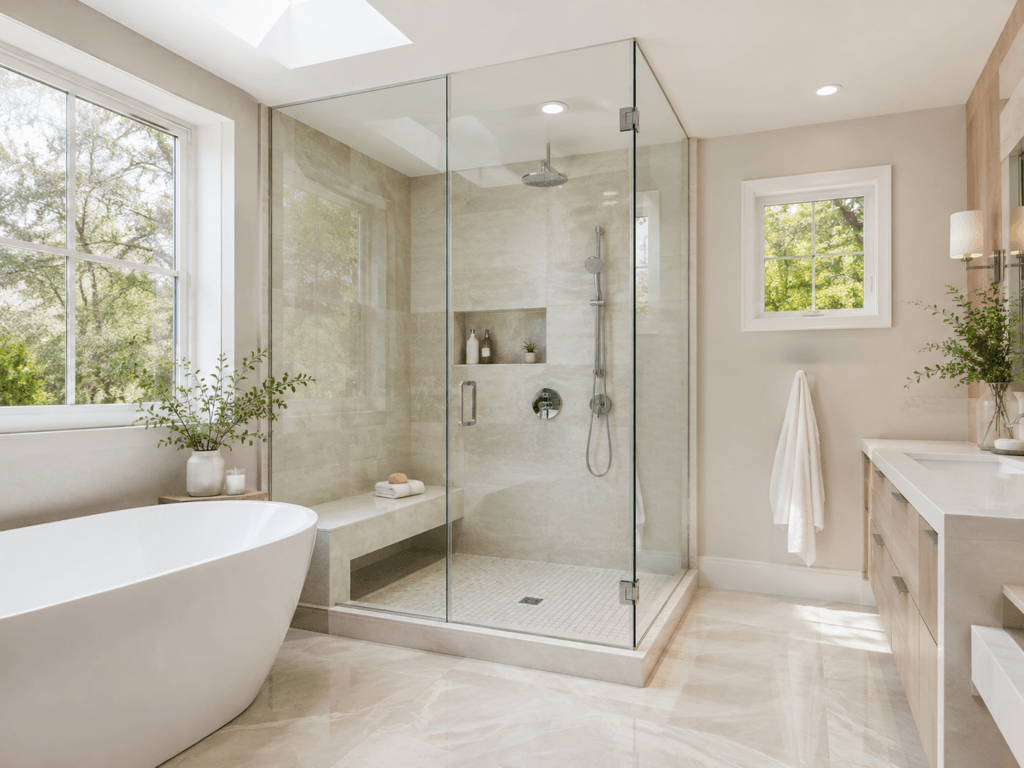
SHOWER TYPES
Start With the Main Shower Configurations
Before choosing glass or hardware, decide what type of shower best fits the bathroom. Room size, bathing needs, accessibility, plumbing locations and the amount of enclosure required can all influence the right configuration.
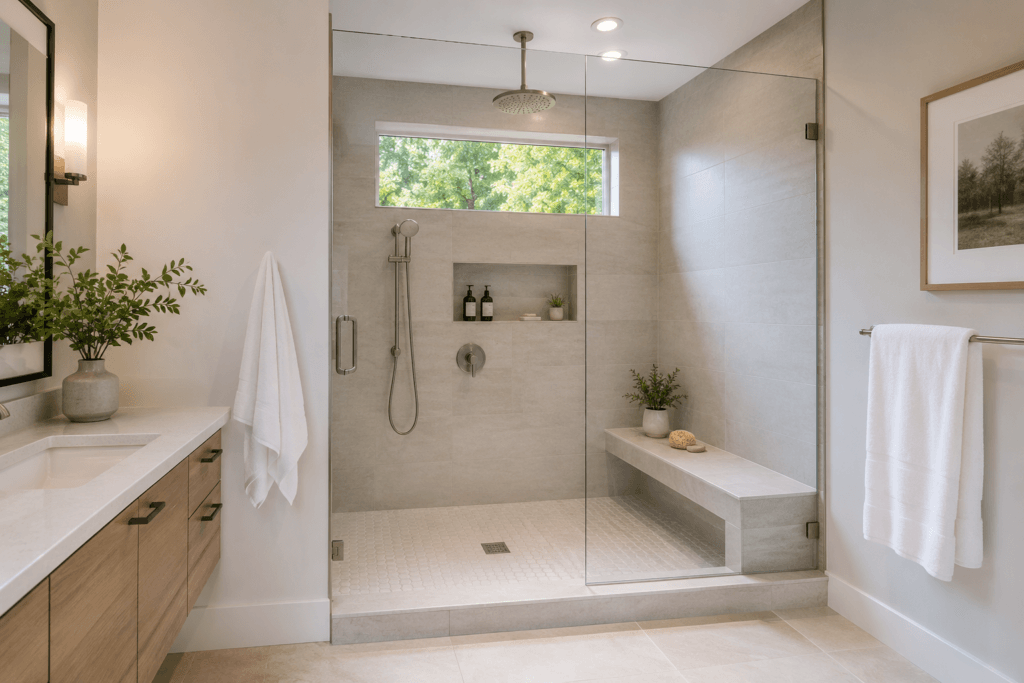
01 — WALK-IN SHOWER
Open, flexible and common in remodeled bathrooms.
Walk-in showers can range from compact enclosed stalls to large custom showers with fixed glass panels. They work especially well when a separate bathtub is not required and can make the bathroom feel more open.
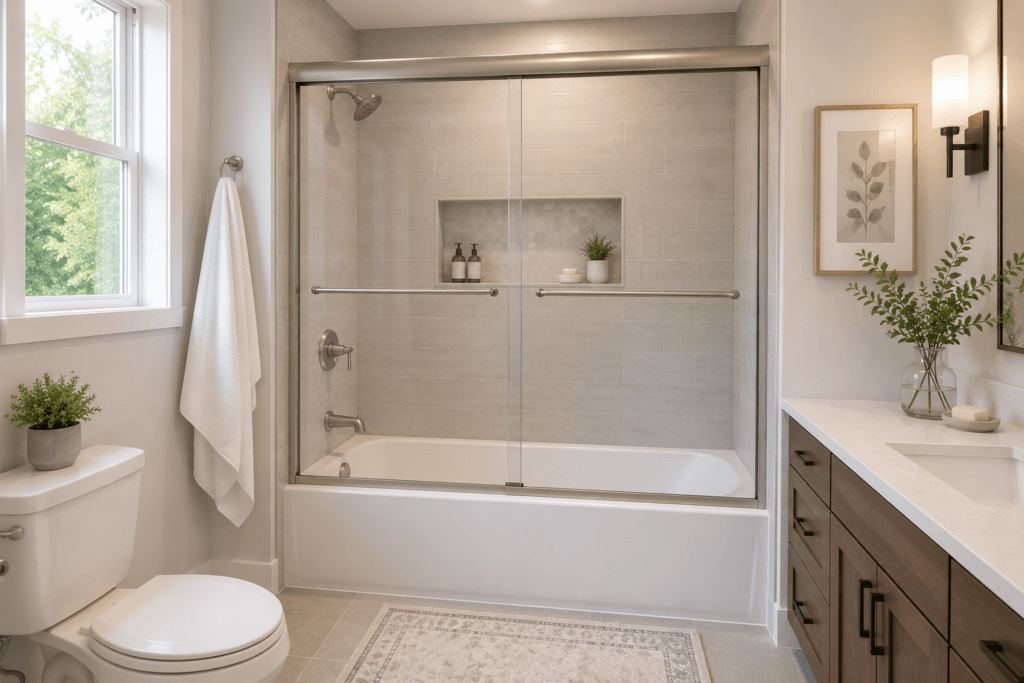
02 — TUB / SHOWER COMBINATION
Practical when the bathroom needs both a tub and shower.
A tub/shower combination keeps two bathing options within a relatively small footprint. It is common in family and secondary bathrooms and can use a curtain, sliding glass doors or a custom enclosure.
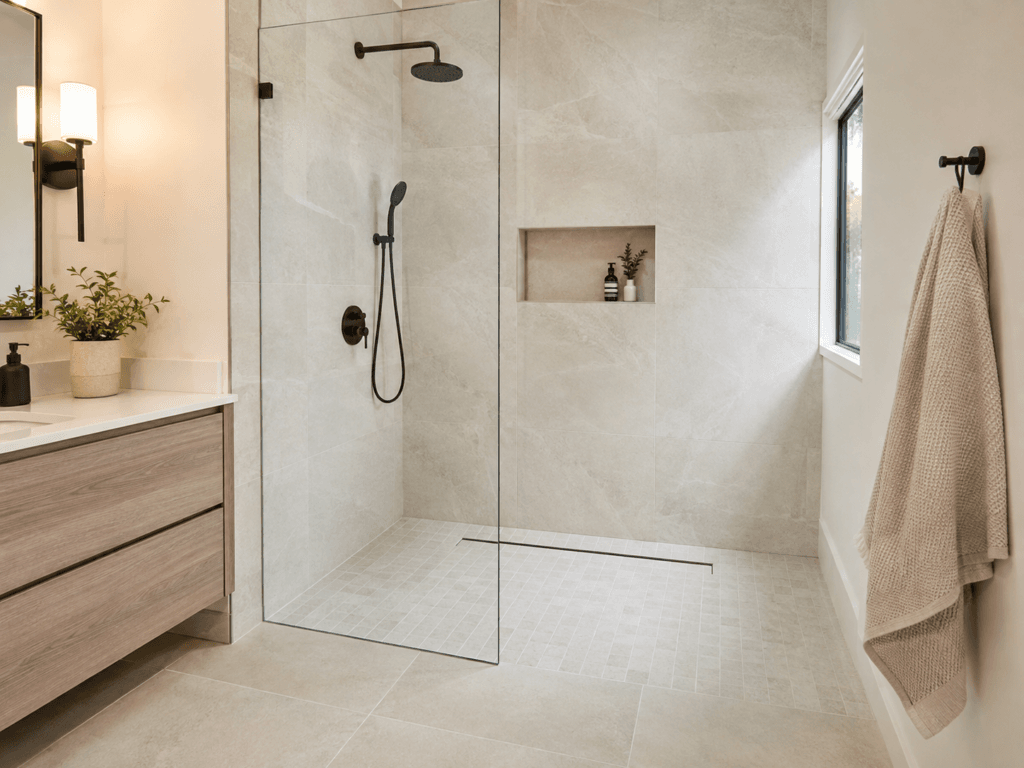
03 — CURBLESS SHOWER
Designed for a more seamless entry.
A curbless shower eliminates the raised threshold between the bathroom floor and shower. It can improve accessibility and create a cleaner visual transition, but floor slope, drainage and waterproofing need to be planned carefully.
ENCLOSURE OPTIONS
How Much Glass Does Your Shower Need?
The enclosure configuration affects water control, accessibility, ventilation and how open the shower feels. The right setup depends on shower size, surrounding walls and available door-swing space.
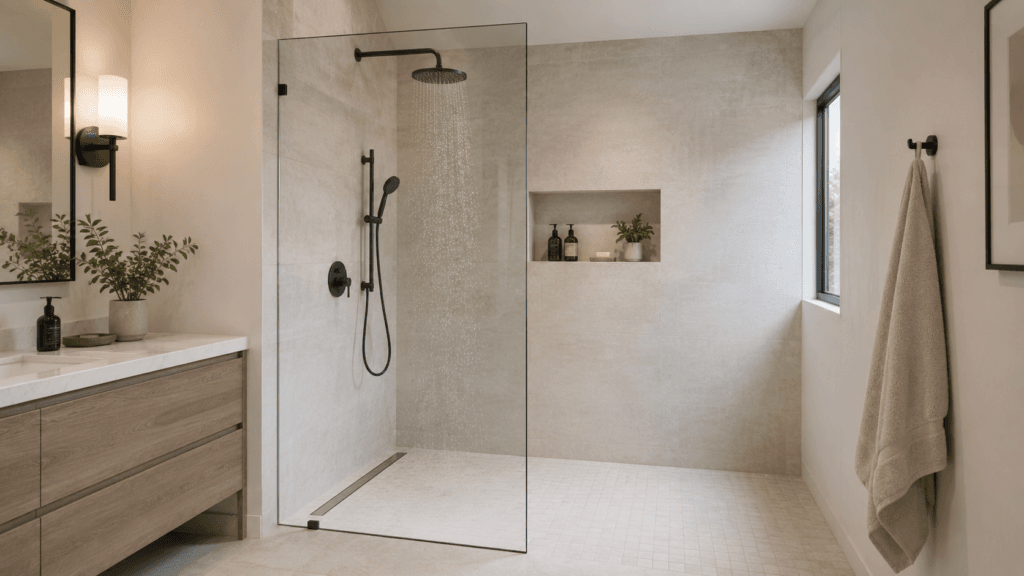
01 — FIXED GLASS PANEL
Simple, open and visually minimal.
A fixed panel uses a single piece of stationary glass to control water without fully enclosing the shower. It works best in larger showers where the spray can be kept away from the opening.
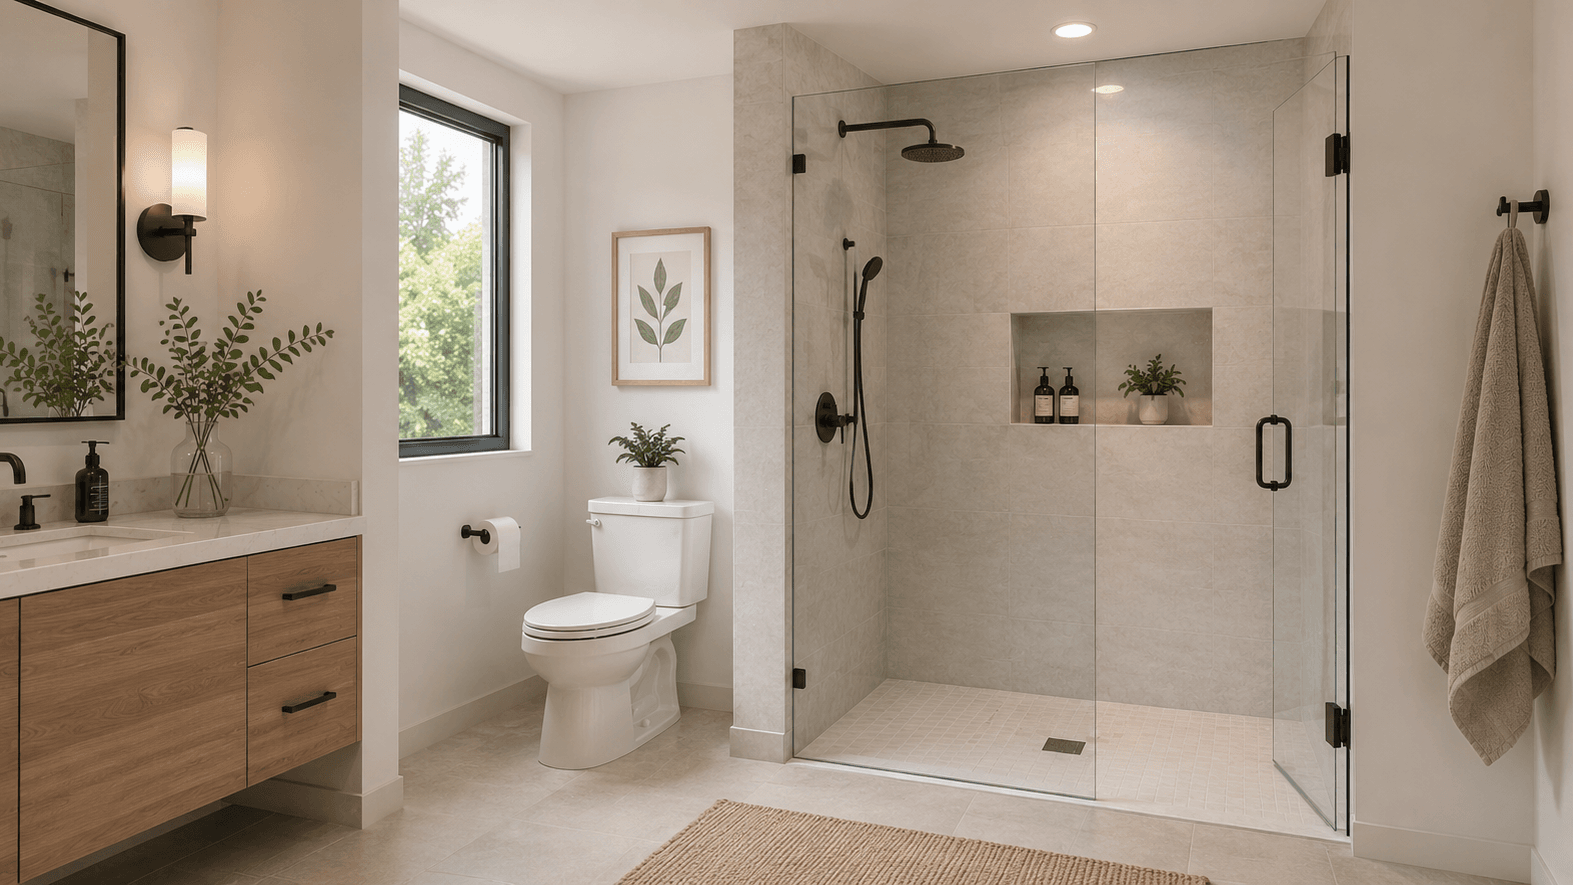
02 — DOOR + FIXED PANEL
Flexible for many standard shower openings.
A hinged glass door paired with a fixed panel creates a more enclosed shower while keeping the appearance clean and open. Door swing, nearby fixtures and available clearance should be checked before finalizing the layout.
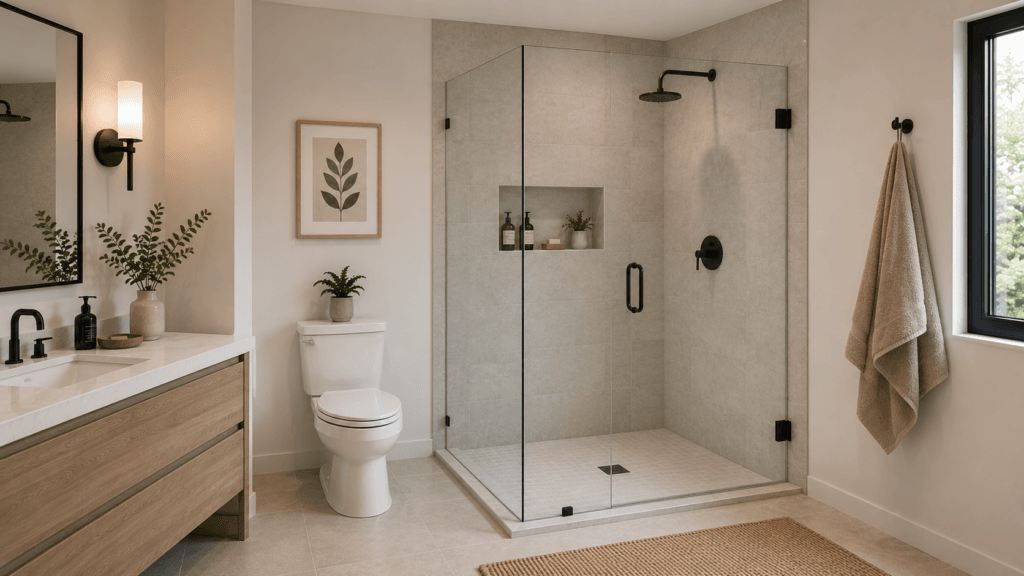
03 — TWO-SIDED ENCLOSURE
Common when the shower is built into a corner.
A two-sided enclosure uses two glass elevations with the other two sides formed by bathroom walls. It is a common configuration for corner showers and can use a hinged door, fixed panels or a combination of both.
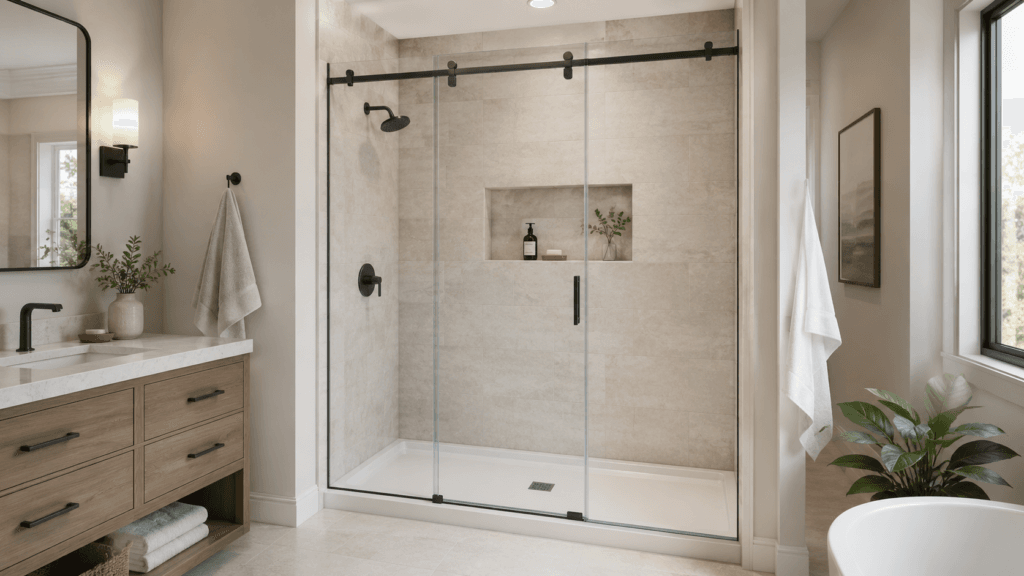
04 — SLIDING / BYPASS ENCLOSURE
Best when there is limited room for a swinging door.
Sliding shower doors move along a track instead of swinging into the bathroom. They are common at tub/shower combinations and compact showers where door clearance is limited.
GLASS OPTIONS
Standard Clear Glass vs. Low-Iron Glass
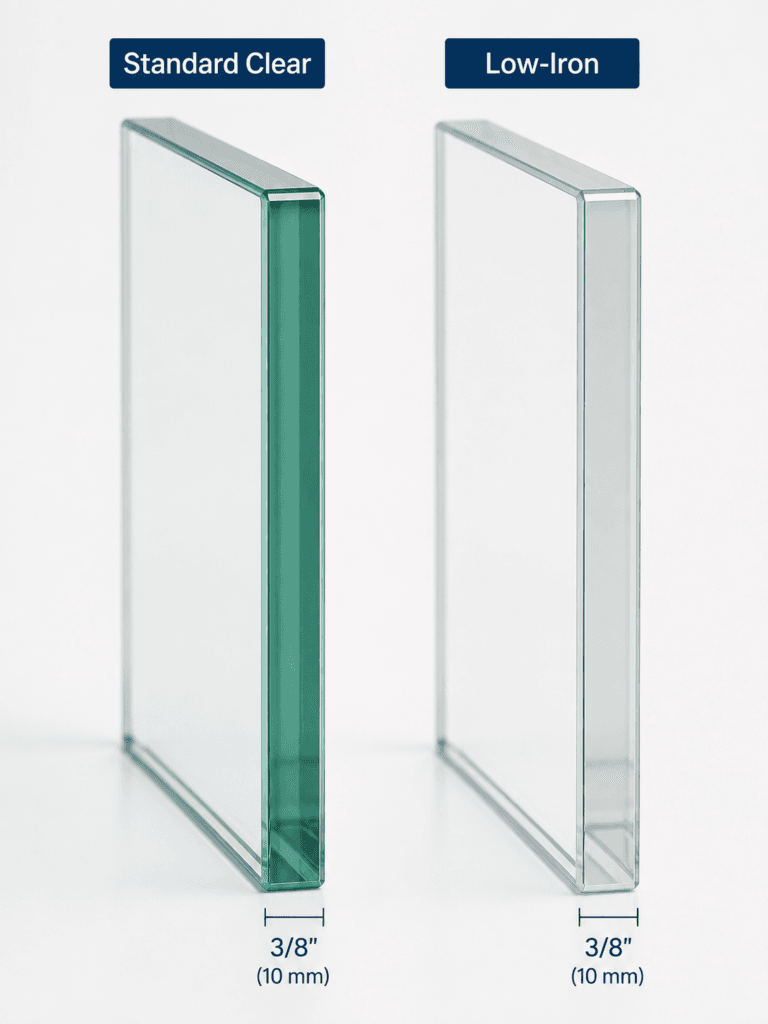
The type of glass can noticeably affect how a shower enclosure looks, especially around light-colored tile and stone. Standard clear and low-iron glass are both transparent, but they do not have exactly the same color appearance.
STANDARD CLEAR GLASS
The common choice for most shower enclosures.
Standard clear glass contains naturally occurring iron that can give the glass a subtle green tint. The color is usually most noticeable along exposed edges, through thicker glass and against white or very light finishes.
BEST FOR
Most residential shower enclosures where cost and overall clarity are the main priorities.
LOW-IRON GLASS
Higher clarity with less green tint.
Low-iron glass is manufactured with reduced iron content, giving it a more color-neutral appearance. This can help white tile, marble and other light finishes appear closer to their intended color when viewed through the glass.
BEST FOR
Premium enclosures, light-colored finishes and projects where maximum visual clarity is important.
SAFETY GLASS
Shower Glass Must Be Designed for Safety
Shower and tub enclosures typically use safety glazing designed to reduce the risk of serious injury if the glass breaks. Tempered glass is commonly used for residential shower doors and panels because it is heat-treated to increase strength and, when broken, is designed to fracture into relatively small pieces rather than large sharp shards.
The terms standard clear and low-iron describe the appearance and composition of the glass. Either type can be fabricated as tempered safety glass for use in a shower enclosure.
GOOD TO KNOW
Glass thickness, panel size, hardware, support conditions and enclosure configuration all need to work together. A larger frameless panel may require different glass thickness or support than a smaller framed enclosure.
SHOWER HARDWARE
Hardware Is More Than a Finish Choice
Shower hardware affects how the glass is supported, how doors operate and how the finished enclosure looks. The right components depend on glass thickness, panel size, enclosure configuration and the surrounding attachment conditions.
HINGES & PIVOTS
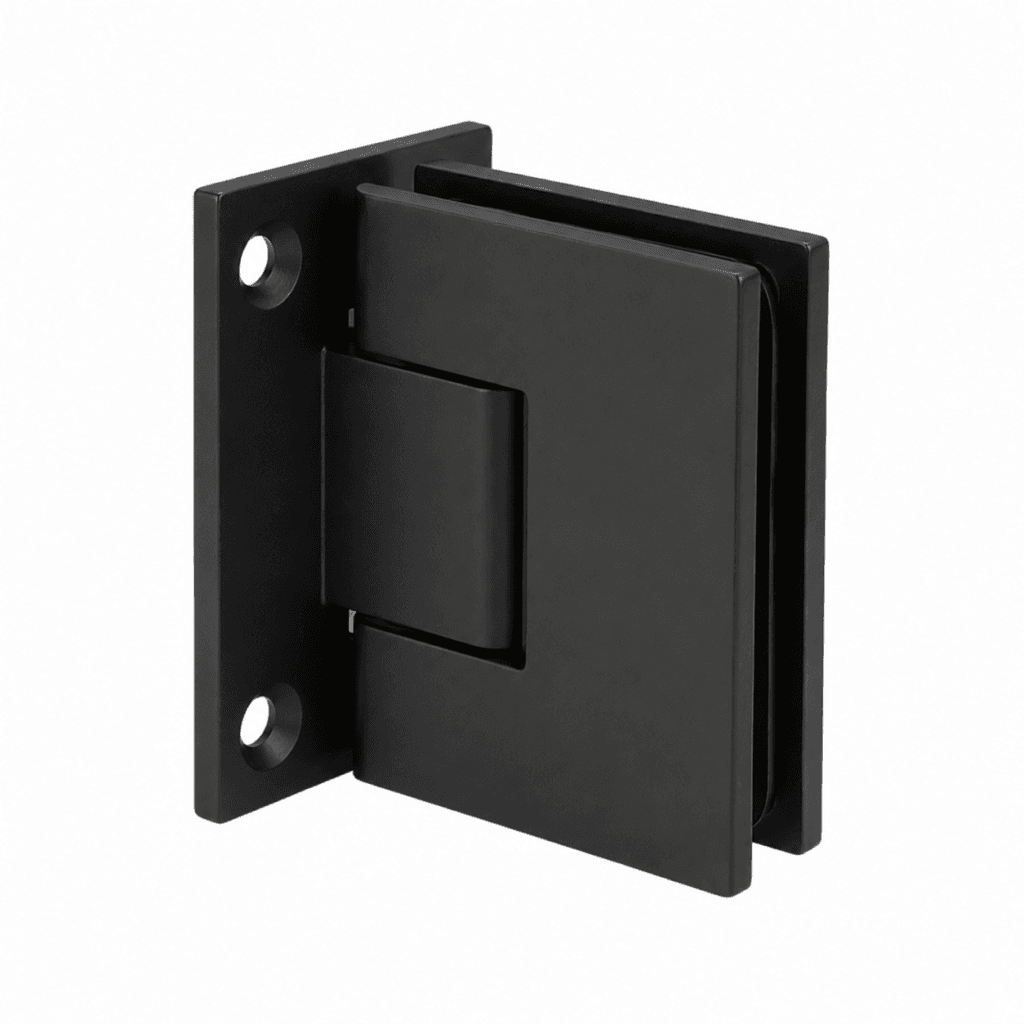
Hinges and pivots support operable glass doors and determine how the door moves. Hardware needs to be selected for the glass thickness, door size and intended swing.
HANDLES & PULLS
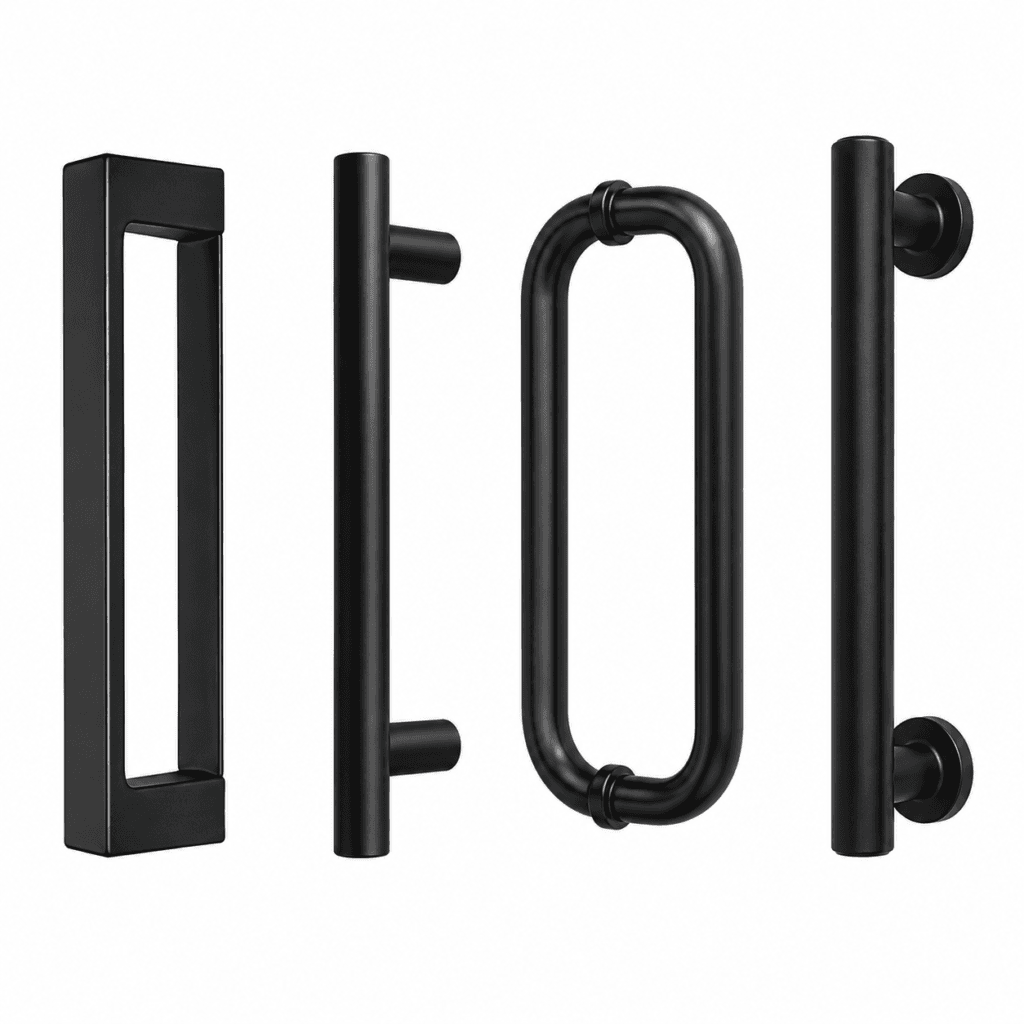
Handles range from simple pulls to combination pull-and-towel-bar designs. Placement should allow comfortable operation without interfering with adjacent glass, walls or fixtures.
CHANNELS & CLAMPS
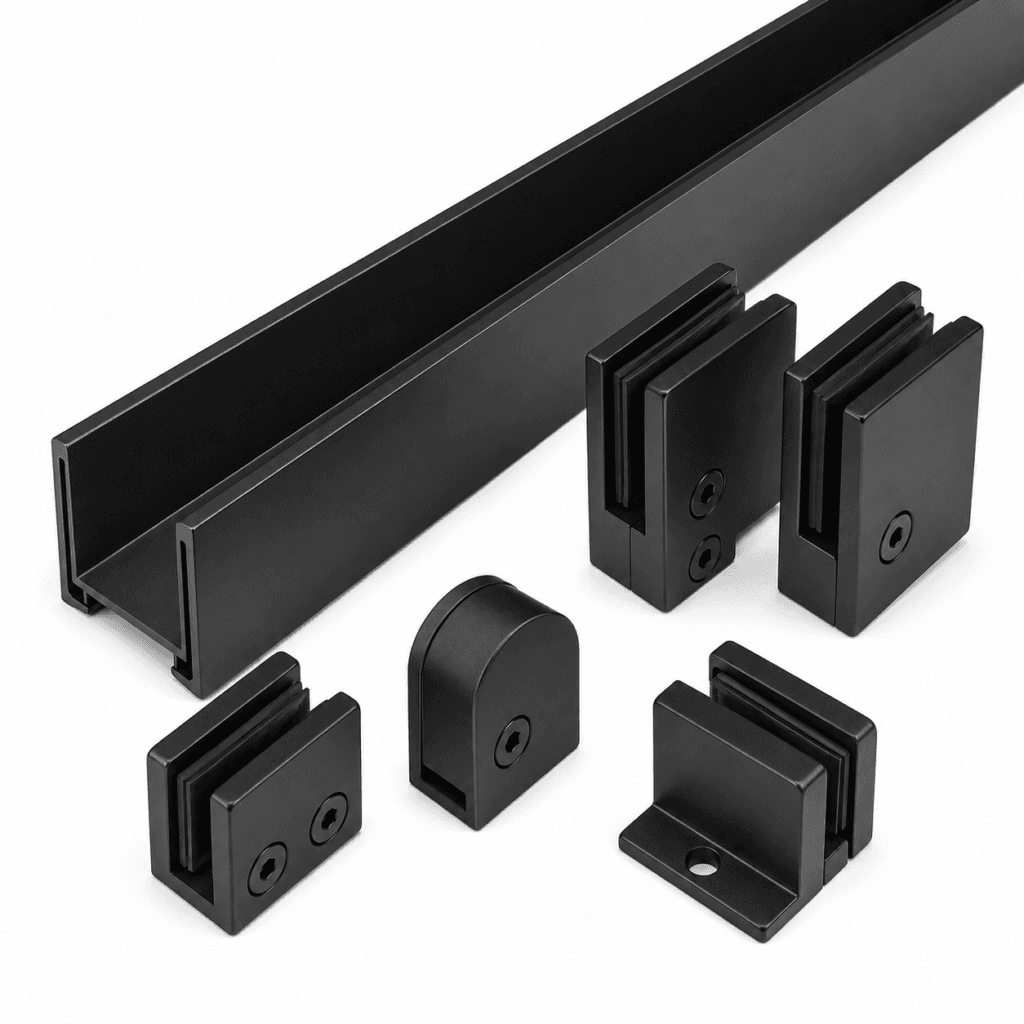
Fixed glass can be secured with continuous metal channels, individual clamps or other attachment systems. Channels provide continuous support, while clamps can create a more minimal appearance.
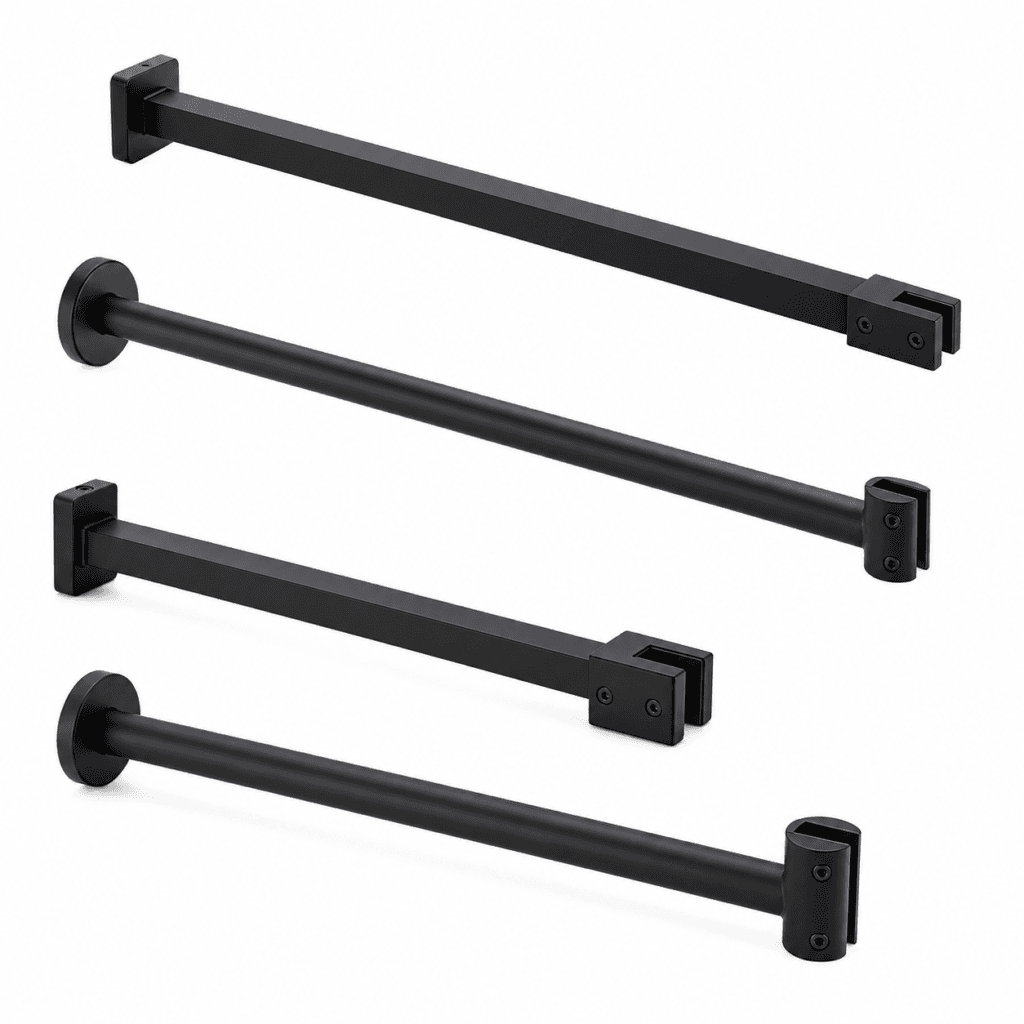
SUPPORT HARDWARE
Larger or more open glass configurations may require additional support such as header bars, stabilizer bars or other engineered components depending on the enclosure design.
GOOD TO KNOW
The most minimal-looking enclosure is not necessarily the simplest structurally. Frameless systems rely on properly sized glass, compatible hardware and adequate attachment into the surrounding construction.
BEFORE YOU ORDER
Measure the Finished Opening, Not the Rough Opening
Most custom shower enclosures are measured after the tile, shower base and other finished surfaces are complete. The final glass dimensions depend on the actual opening, including any out-of-plumb walls, uneven surfaces and changes in width from top to bottom.
CHECK THE OPENING
- Finished width and height
- Wall plumb
- Curb or threshold level
- Tile thickness and surface condition
- Door swing clearance
- Nearby vanities, toilets and towel bars
CHECK THE SUPPORT
- Blocking or suitable attachment behind finished surfaces
- Hinge and clamp locations
- Fixed-panel support
- Header or stabilizer requirements
- Hardware clearances
- Manufacturer limitations for glass size and weight
GOOD TO KNOW
Custom shower glass is usually fabricated to fit the finished opening. Small differences in wall angle or opening width can affect glass dimensions, gaps and hardware placement, so field measurements should be taken carefully after the surrounding finishes are complete.
AVOID THESE
Common Shower Enclosure Mistakes
01 — MEASURING TOO EARLY
Ordering glass before tile and finished surfaces are complete can result in incorrect dimensions or unexpected gaps.
02 — IGNORING THE DOOR SWING
A door can fit the opening but still interfere with a vanity, toilet, tub, towel bar or nearby wall when opened.
03 — NOT PLANNING SUPPORT
Heavy frameless glass needs suitable attachment conditions. Hardware locations and backing should be considered before walls are closed and tile is installed.
Bottom Line
The right shower enclosure is a combination of layout, glass, hardware and proper installation. Start with the shower configuration, decide how much glass the space needs, compare standard clear and low-iron options, and make sure the finished opening and support conditions are ready before ordering custom glass.